
Paint stripping is a necessary step in many home improvements projects, such as refinishing furniture or repainting walls. However, it can be a tricky process that requires attention to detail and proper technique. In this comprehensive guide, we will discuss the dos and don’ts of stripping the paint to help you achieve the best results possible.
Do: Choose the Right Paint Remover
One of the most important aspects of successful paint removal is choosing the right product for the job. There are several types of removers of the paint available on the market, each with its own set of pros and cons:
- Solvent-based removers: These are the most common type of paint strippers, which work by breaking down the paint’s chemical bonds. They’re effective on various surfaces but can be harsh and emit strong odours.
- Bio-based removers: Environmentally friendly alternatives to solvent-based removers, these products use natural ingredients to remove paint. They tend to have less odour but may require more time to work.
- Caustic-based removers: These removers use alkaline chemicals to break down paint. They work well on multiple layers of paint but can be corrosive and damage certain surfaces.
It’s essential to consider the type of paint and surface you’re working with when selecting a remover.
Don’t: Rush the Process
When it comes to stripping the paint, patience is key. Rushing the process can lead to incomplete paint removal or damage to the surface. Give your chosen paint remover enough time to work – this might range from a few hours to overnight, depending on the product and the paint type. It’s better to wait longer than to risk damaging your project.
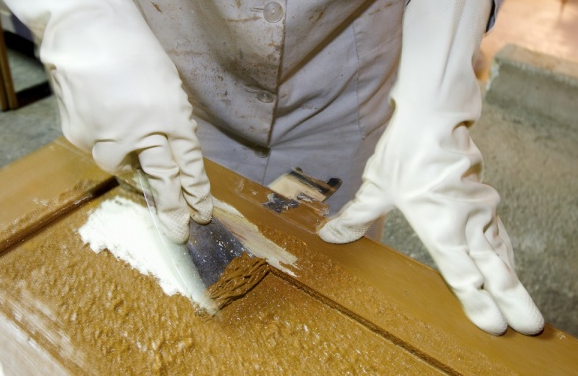
Do: Protect Yourself and Your Workspace
Safety should always be a top priority when working with paint removers. Here are some steps to ensure you stay safe during the process:
- Wear protective gear: Use gloves, safety glasses, and a mask to protect your skin, eyes, and lungs from chemical exposure.
- Ensure proper ventilation: Work in a well-ventilated area to minimize the risk of inhaling harmful fumes.
- Cover surrounding surfaces: Protect nearby surfaces and objects from accidental exposure to the paint remover.
Don’t: Use Unsafe Tools or Techniques
When removing paint, it’s crucial to use the right tools and techniques to avoid damaging the surface beneath. Avoid using metal scrapers, as they can easily gouge wood or other soft materials. Instead, opt for plastic scrapers, which are less likely to cause damage.
Do: Test a Small Area First
Before diving into your paint stripping project, it’s wise to test a small, inconspicuous area first. This will help you determine if the chosen paint remover is effective and safe to use on your specific surface. If you notice any adverse reactions or the paint isn’t coming off as expected, consider trying a different product or consulting an expert for advice.
Don’t: Dispose of Paint Waste Improperly
Disposing of paint waste responsibly is essential to protect the environment and comply with local regulations. Most paint removers and paint waste should not be poured down drains or thrown in the regular trash. Instead, collect the waste in a sealed container and dispose of it at a designated hazardous waste facility.
Do: Clean and Prepare the Surface
After the paint has been removed, it’s essential to clean and prepare the surface for its next treatment, whether that’s repainting or refinishing. This may involve:
- Removing any remaining residue with a clean cloth or sponge.
- Sanding the surface to smooth out any imperfections and create an even surface.
- Wiping down the surface with a tack cloth to remove dust and debris.
- Applying a primer, if necessary, before repainting or refinishing.
By following these dos and don’ts of paint stripping, you can ensure a successful and safe project. Remember to take your time, choose the right products, and prioritize safety at all times. With patience and attention to detail, you’ll achieve a beautifully restored surface that’s ready for its next chapter.