
The beauty of natural wood adds warmth and character to any space. Bringing out that inherent charm often involves achieving a flawless finish.
Whether you’re refinishing an old table or building a brand-new shelf, this guide offers valuable tips to ensure your wood project boasts a professional-looking final touch.
Let’s get started!
Top Tips for Achieving a Flawless DIY Wood Finish
There are some top tips that can be followed to get a flawless DIY wood finish:
Planning is Key
Before diving headfirst into sanding and staining, take a moment to plan your approach. Research different wood finishes and their compatibility with your chosen wood type. Consider the desired final look – a natural, rustic vibe might call for a light stain, while a modern aesthetic might benefit from a bold pop of color.
Sketching out your project can also help visualize the end result and identify areas that might require extra attention.
Sanding for a Smooth Canvas
Wood brushing is a crucial step in the finishing process. It removes surface imperfections, ensures even stain application, and helps the finish adhere better. Start with a coarse-grit sandpaper to remove any bumps or scratches.
Gradually work your way up to finer grits for a progressively smoother surface. Pay close attention to corners and edges, ensuring a seamless transition between surfaces.
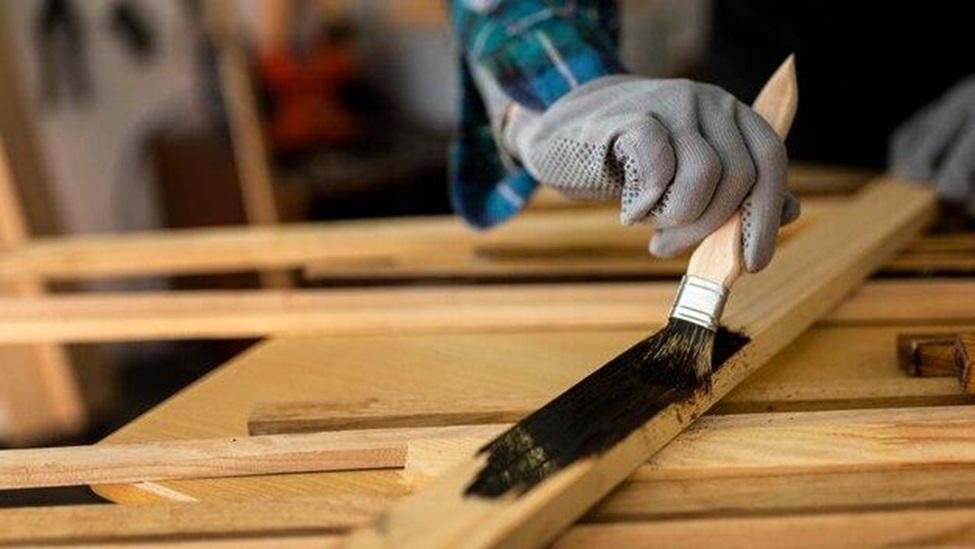
Applying the Perfect Stain
Once the wood is prepped, it’s time for the stain. Test the stain on a scrap piece of wood to ensure you like the color. Apply the stain in thin, even coats, following the grain of the wood. Use a clean rag to wipe away any excess stain promptly to avoid blotches or uneven coloring.
Depending on the desired intensity, apply additional coats, allowing adequate drying time between each application.
Highlighting Natural Beauty
After the stain has dried completely, consider using a clear coat to enhance the wood’s natural beauty and protect the finish. Choose from a variety of gloss levels, from a subtle sheen to a high-gloss shine, depending on your preference.
Apply the clear coat in thin, even strokes, ensuring a smooth and flawless finish.
Maintaining Your Masterpiece
Regular cleaning and maintenance will keep your wood project looking its best for years to come. Dust with a soft, dry cloth regularly. Depending on the type of finish used, occasional polishing or reapplying a protective coat might be necessary.
For extensive repairs or complex projects, consider consulting a professional in construction management to ensure the job is done right while staying within budget.
Wrapping Up
Here’s to the end of this blog!
Finishing wood projects requires careful consideration of the desired final look, proper sanding techniques, the application of stain and clear coat, and regular maintenance. By paying attention to these steps, you can achieve a beautiful and long-lasting finish that highlights the natural beauty of the wood. Remember to take your time, test the products, and consult professionals when needed to ensure a successful outcome for your masterpiece.