

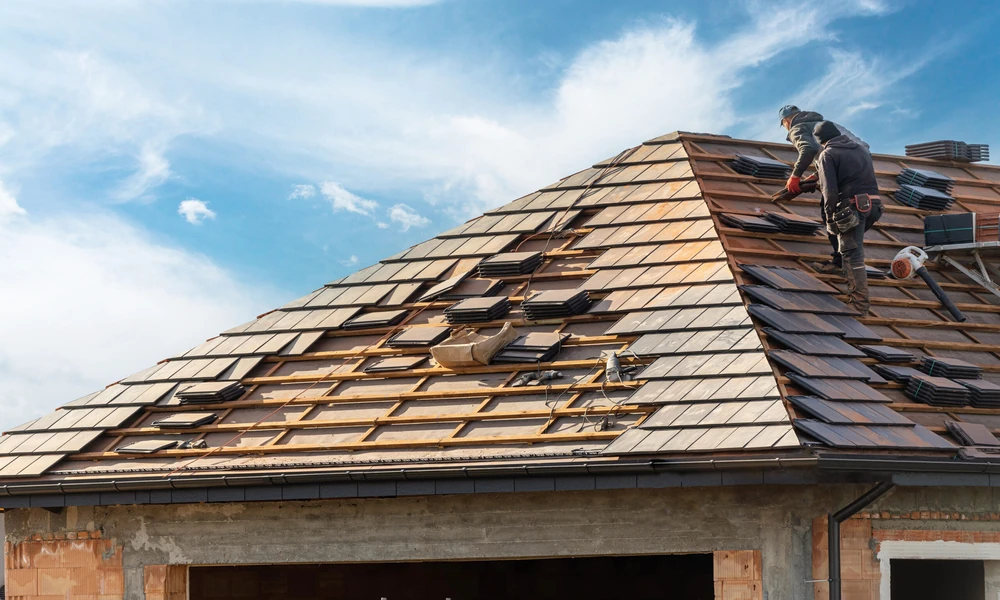
For most homeowners, a roof replacement is a mystery. You approve the quote, pick a shingle color and then a crew arrives and the house starts to sound like a drum. What is going on up there, and what should you be doing down here? Knowing the rhythm of the day makes the experience far less stressful. The crew at Hardworking Roofing and Construction is the kind of team that walks homeowners through the process before the first bundle of shingles is lifted, and this guide follows a typical single-day replacement so you know what to expect, what is normal and what to ask about.
Timelines vary with roof size, pitch, weather and the number of layers being removed, but the sequence below holds for most asphalt shingle projects.
Before Sunrise: The Night Before
The real work begins the evening prior. Move vehicles out of the driveway, since crews need room for dumpsters and material deliveries. Clear the attic of anything fragile or valuable, because vibration can shake dust and debris loose. Take wall hangings off the top floor walls, and cover stored items with old sheets.
Bring in pets and let neighbors know about the noise. Trim any plants along the foundation that you would hate to see trampled, and mow the lawn if you can, since a short lawn makes it easier to find stray nails later.
7:00 AM: Arrival and Walkaround
The crew lead should introduce the team and confirm the plan with you. Expect a quick walk around the property to note existing damage, such as cracked siding or loose gutters, so that nothing is blamed on the job later. This is the right moment to ask about the day’s goals, the weather outlook and where debris and materials will be staged.
Tarps go down around the house to protect landscaping, and magnetic sweepers are readied for nails. Materials are often lifted onto the roof by conveyor or hand carried, depending on the setup.
8:00 AM: Safety Setup
Before anyone works at height, safety gear goes in. Anchor points, harnesses and ladders are positioned, and the crew reviews hazards like steep slopes, wet surfaces and overhead power lines. The Occupational Safety and Health Administration publishes extensive guidance on fall protection in construction, and it is a good reference if you want to understand why reputable crews take this stage so seriously. Falls remain one of the leading causes of serious injury in roofing, so a crew that visibly follows these practices is a good sign.
8:30 AM: The Tear Off
This is the loudest part of the day. Workers use roofing shovels to pry up old shingles, underlayment and nails, and debris drops into trucks or onto protective tarps. It is normal for the house to shake, for dust to appear in the attic and for the noise to feel relentless.
What a good crew does here:
- Removes all old material down to the bare decking rather than layering over it
- Collects debris continuously instead of letting it pile up
- Keeps the house sealed from rain by never exposing more roof than they can cover that day
11:00 AM: Deck Inspection and Repairs
With the old roof gone, the decking, which is the plywood or boards beneath the shingles, is fully visible for the first time. This is when hidden problems surface, such as soft or rotted spots, water stains or damaged framing.
A trustworthy contractor will show you photographs of any problem areas and explain the repair and its cost before proceeding. Replacing a few sheets of decking is common, but you should always see the evidence and approve additional charges in writing.
12:00 PM: Lunch and a Quick Check In
Crews usually take a short break midday. It is a good time for you to ask questions, confirm that nothing unexpected has been found and make sure the plan for the afternoon still matches your agreement.
12:30 PM: Underlayment and Water Protection
Now the roof starts to become waterproof again. The sequence typically looks like this:
- Drip edge is installed along the eaves and rakes to guide water into the gutters
- Ice and water barrier goes over vulnerable areas such as valleys, eaves and around penetrations
- Synthetic underlayment covers the remaining deck as a secondary water barrier
- Starter strips are laid along the edges to help the first row of shingles seal tightly
These layers are invisible once the job is finished, yet they do a great deal of the protective work. Do not hesitate to ask which products are being used.
1:30 PM: Flashing and Penetrations
Chimneys, skylights, vent pipes and walls are where most leaks begin, so this stage deserves attention. New flashing is fitted around every opening. Old pipe boots are replaced rather than reused, and chimney flashing is sealed and integrated with the shingle layers.
If a crew is willing to explain these details, it usually means they care about them.
2:00 PM: Shingle Installation
With the groundwork set, shingles go on in rows from the bottom upward, each overlapping the one below it. Installers follow the manufacturer’s nailing pattern, which specifies the number and position of nails for each shingle. Too high, too few or overdriven nails can void warranties and invite blow-offs in high wind.
You will hear the steady rhythm of nail guns, and the roof gradually takes on its new color and texture.
4:00 PM: Ridge, Vents and Finishing Touches
Ridge caps cover the peaks, and ridge vents or other ventilation components are installed to let the attic breathe. Proper ventilation controls heat and moisture and helps shingles last as long as intended, so it is not an optional extra.
Last, the crew checks that every shingle is sealed and every edge is secure.
5:00 PM: Cleanup and Final Sweep
This is where a professional crew stands out. They should:
- Run magnetic sweepers across the lawn, driveway and flower beds to pick up stray nails
- Remove tarps, bags and leftover materials
- Clean gutters of shingle granules and debris
- Haul away the dumpster or schedule its pickup
- Walk the property one last time to confirm nothing was damaged
5:30 PM: The Walkthrough and Paperwork
Before everyone leaves, ask for a final walkthrough. Look at the roof from the ground, check for neat lines and confirm that gutters, skylights and vents appear in order. You should also receive documents such as the warranty information, product details and a final invoice. Keep these in a safe place, since they matter for future repairs, insurance and resale.
What Is Normal and What Is Not
Normal: Noise, vibration, dust in the attic, nails found in the grass the next day, and a few extra hours if the weather or hidden damage requires it.
Not normal: Crews working without safety gear, old shingles left in place without your knowledge, no explanation of new costs, debris left in the yard or a refusal to provide warranty paperwork.
A Few Days Later
The job is not truly finished the moment the truck pulls away. Walk around your property after the first heavy rain and look for drips, stains or unusual sounds in the attic. Sweep the yard once more for any missed nails. If something looks off, contact your contractor promptly, since quick reports make warranty claims much easier.
Final Thoughts
A roof replacement is a big event, but it does not have to be a stressful one. When you understand the sequence, from careful setup through tear off, deck inspection, waterproofing, shingles and cleanup, you can spot quality work and ask the right questions at the right moments. Prepare the house the night before, stay available for decisions and expect a clear walkthrough at the end. With a skilled crew and a little preparation, you can go to bed under a brand new roof.